Installation
Get the TestQC USB iso from repository and make sure to check the MD5sum after downloading.
To create a LiveUSB from iso image, use any disk image writer such as Balena Etcher or RaspberryPi Imager
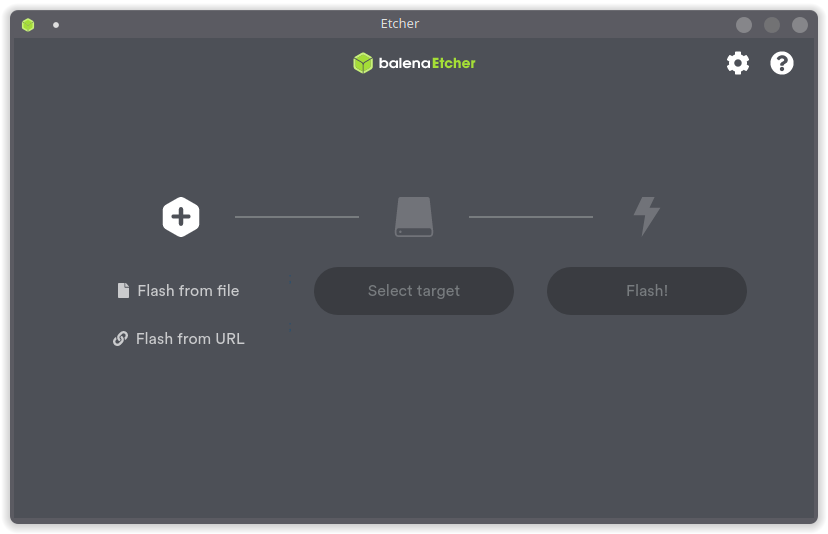
Click on Flash from file button to load the iso image you just downloaded. After loaded the iso name will show as the source on the left. Now it’s time to insert the usb flashdisk you want to write, make sure the flashdisk size is bigger than the iso file size.

Etcher will detect the flashdisk and it will show as a target disk.
If everything is ready then you can press the Flash button and the writing progress will begin. Wait till it’s done and that’s it, you have TestQC LiveUSB ready to use.
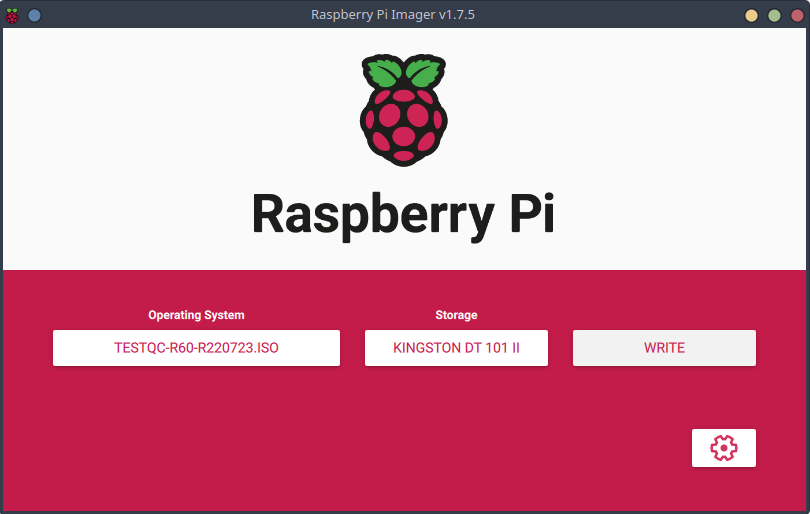
Bassically it’s the same procedure as using Etcher above, just select the iso image file using custom iso, insert the flashdisk and select as target storage and then press write button.